
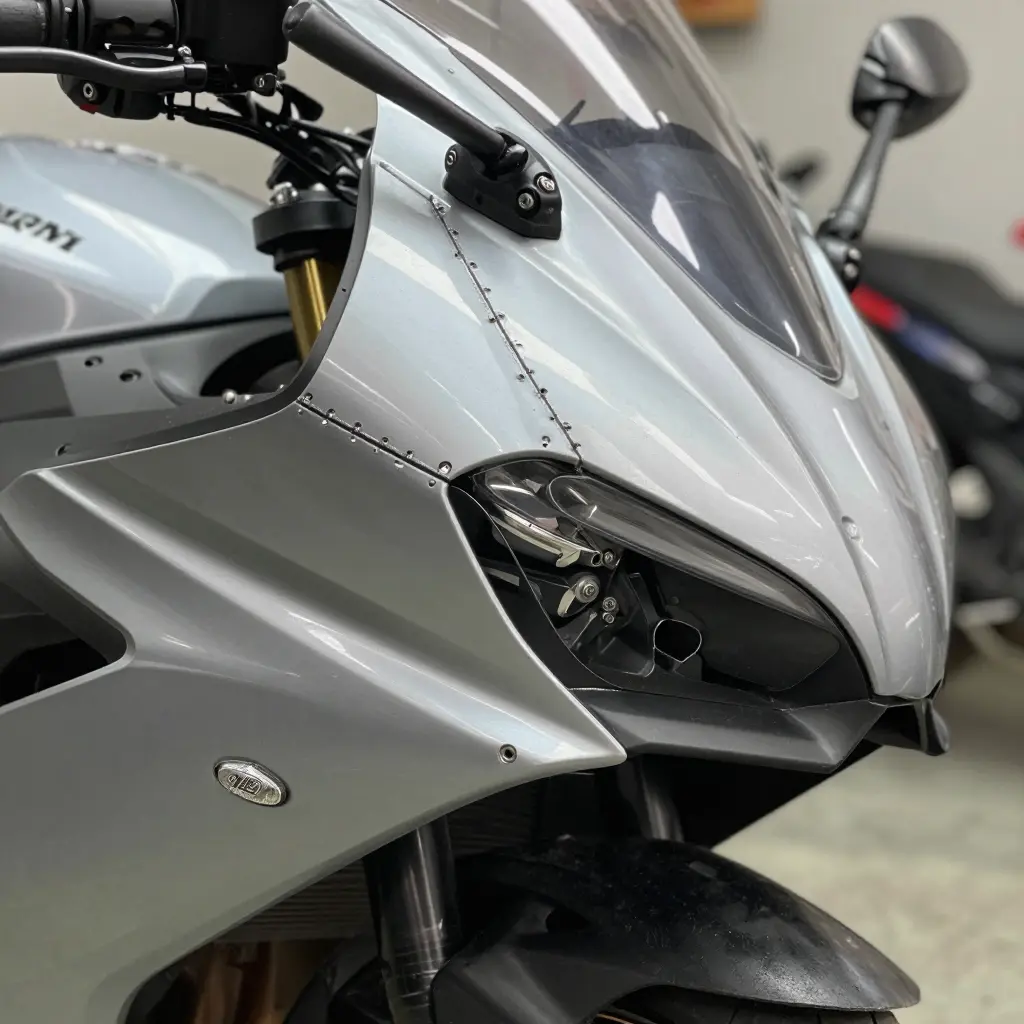
Motorcycle Fairing Fitment Gaps: Why Model Year Mounting Points Matter Before You Order
Motorcycle fairing fitment gaps show up as uneven seams, misaligned panels, and contact points under stress – the signs that a body kit was built for a different bike than the one in front of you. Before you order any fairing kit, confirm your exact model year and mounting configuration. Skip that step and you get panels that bolt on badly, rattle, or never sit flush.
Manufacturers revise mounting points between model years, usually without touching the bike’s outward appearance. A fairing that fits a 2019 model may not fit the 2021 version of the same nameplate, because the brackets, tabs, and bolt spacing moved. Shops see this mismatch every season, and it is the leading cause of fairing returns.
The fix is simple, but specific: you need the VIN, the production year, the trim level, and a good look at how the original panels attach. Below is how to gather that information and check it against a seller’s fitment chart before any money changes hands.
The rest of this guide covers what fitment gaps actually are, why model year matters, how to verify your bike’s mounting configuration, and a checklist to run before you order.
What Exactly Are Motorcycle Fairing Fitment Gaps?
A fairing is the molded bodywork covering a motorcycle’s nose, tank area, and side panels. It deflects wind, smooths airflow, and shapes the bike’s silhouette. Fitment is how accurately that bodywork seats on the frame and stays put.
A fitment gap is what you see when the two do not agree: misaligned panel edges, seams that should sit flush, and stress points where plastic flexes because the bolts do not line up with their holes. A fairing kit that “almost fits” is the classic case – the shape is close, but the bolt pattern is not, so you pull the panels into place instead of letting them rest.
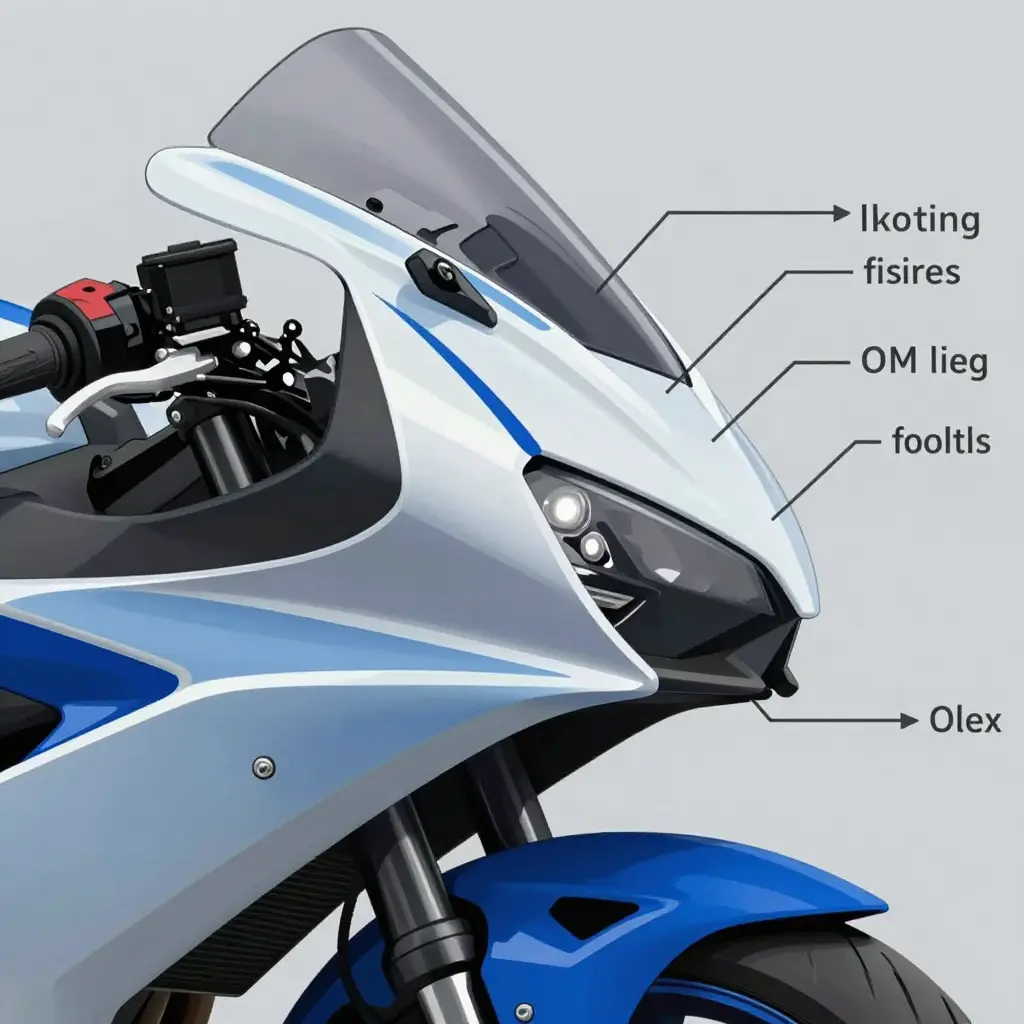
Fitment gaps rarely come from weak bodywork. They come from mounting geometry that does not match.
Three root causes dominate:
- Tolerance differences. Every manufacturing process has a margin of error. OEM parts and aftermarket fairings come from different molds, so a few millimeters of factory variance turn into a real gap once the panels meet the frame.
- Bracket placement. Brackets bridge the frame and the panel. If one is bent, reversed, or drilled in the wrong spot, the panel settles wherever the bracket puts it, not where the design intended.
- Sub-model variation. Two bikes can share a name and a body style yet differ by trim, sub-model, or model year. Aftermarket fairings sold as “one size” often match one variant’s OEM mounting points and miss the next one.
Knowing which cause is at work tells you whether to adjust, replace, or reorder – and saves hours spent fighting plastic that was never going to line up.
How Mounting Point Alignment Creates (or Avoids) Fairing Gaps

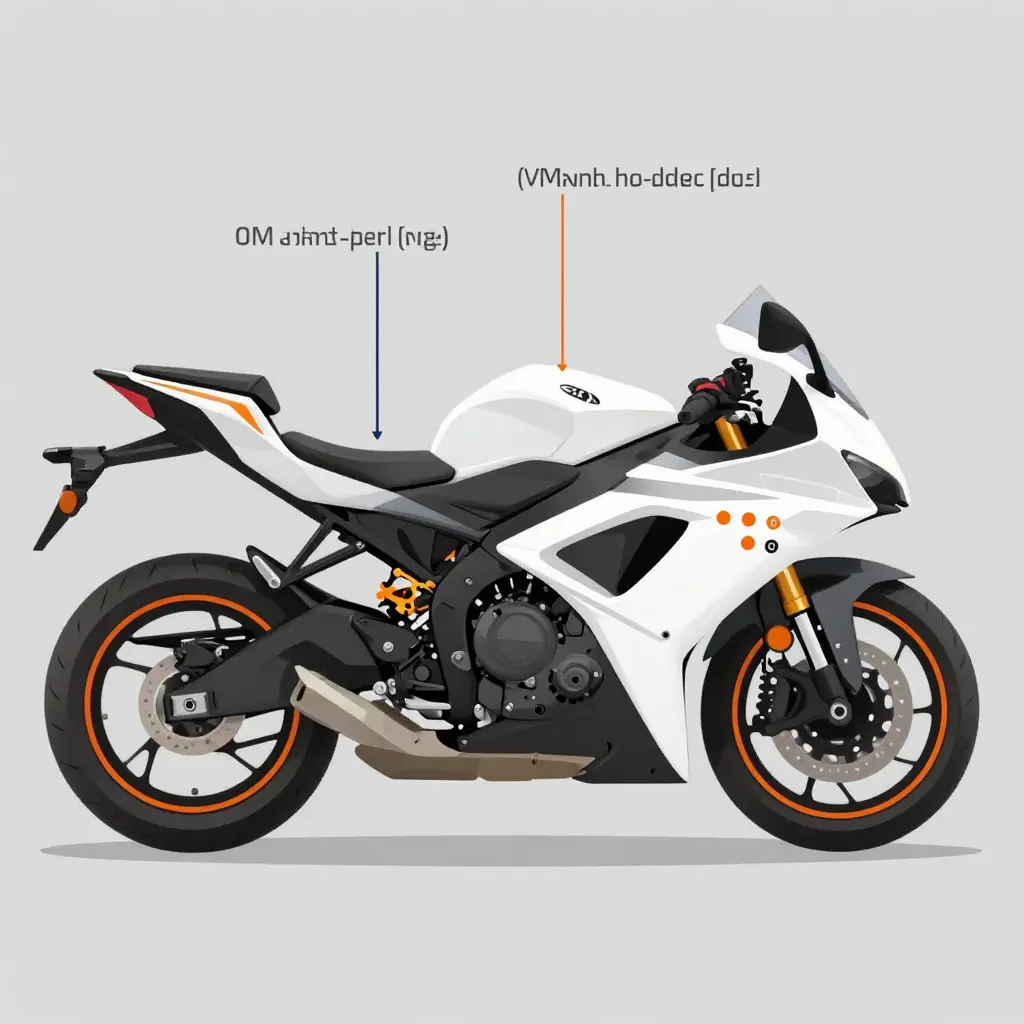
Most fairing fitment gaps come down to one thing: where the holes are. The diagram above shows the same simplified motorcycle side profile twice.
- Left profile: The mounting points sit where the panel’s fasteners expect them. The panel drops on flush, the seams line up, no gap.
- Right profile: One mounting point has shifted by a few millimeters. Because the panel is rigid, that small shift pushes the whole piece out of position and opens a visible wedge-shaped gap along the seam.
That is why a fairing that looks identical to yours on the outside can still refuse to sit right. Model year changes relocate mounting points, add tabs, or alter bracket geometry even when the plastic shape looks the same.
Before ordering, confirm the mounting points match your bike’s specific model year, not just its silhouette. A few millimeters of misalignment at the bolt is enough to open a gap at the edge.
Why Model Year Mounting Points Decide Whether a Fairing Fits
Open any parts catalog and you will see the same trap: a fairing listed under one model name and stretched across a five-year run as if nothing changed. Almost nothing stays static. Manufacturers revise model year mounting points between years, often without announcing it, and those quiet adjustments decide whether the bodywork you order bolts on cleanly or sits crooked with gaps at the seams.
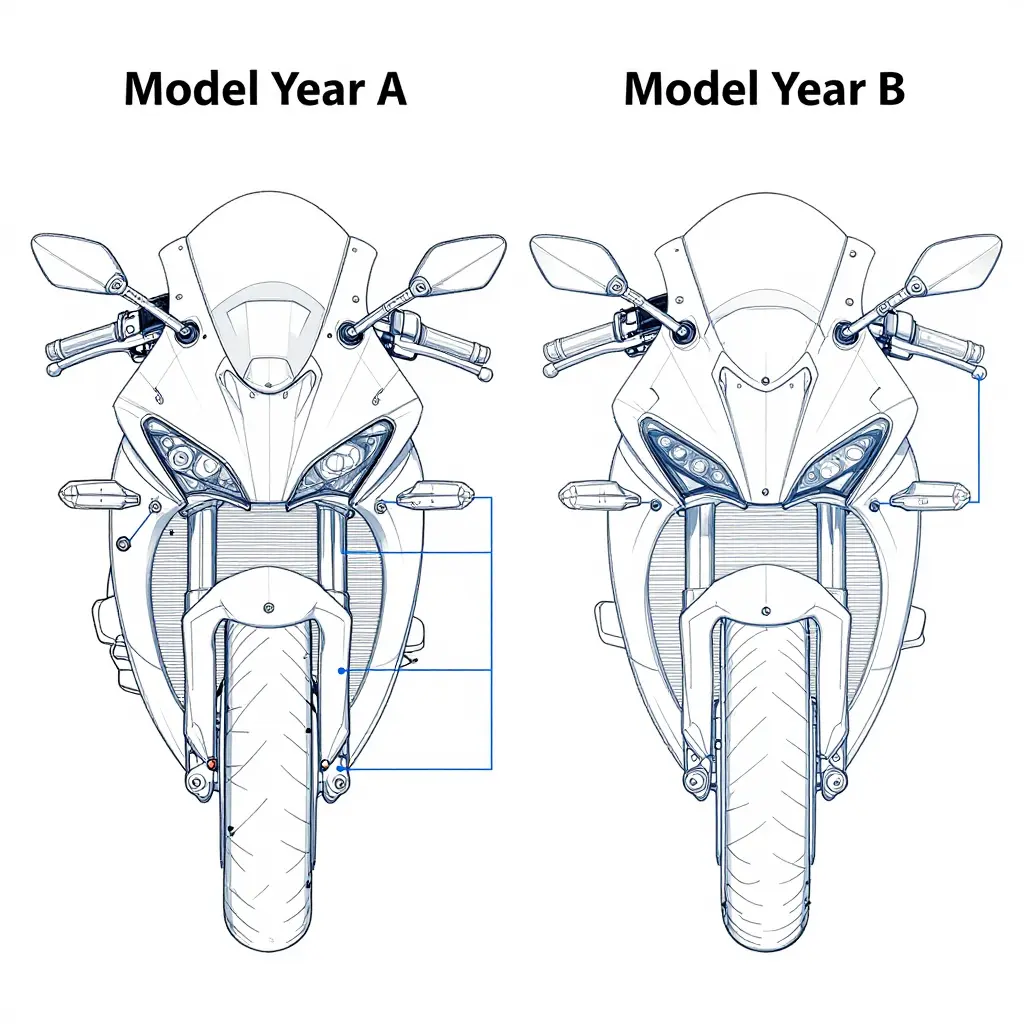
Refreshes Happen Far More Often Than the Badges Suggest
A “mid-cycle refresh” rarely means just new paint and stickers. Engineers move bracket locations, reposition clip nuts, and reshape fairing edges to fit new radiators, revised air intakes, or updated lighting. The silhouette stays familiar, but the geometry underneath shifts by a few millimeters – enough to matter once you start tightening bolts.
Sub-Models Share a Name, Not a Subframe
This is where buyers get burned. A base model and its sport or touring sibling can share a nameplate while using different subframes and mounting hardware. Bolt on the wrong one and the panels fight each other at every seam.
Part Numbers Tell the Real Story
An OEM part number change is the clearest signal that something moved. When a manufacturer supersedes a bracket or a stay, it usually means the earlier design no longer aligns with the current model year mounting points. One digit can separate a flush seam from a gap you can see from across the street.
Identical on the Outside, Different Underneath
Two bikes side by side can look like twins – same color, same graphics, same stance. Yet fitment depends on what you cannot see: where the tabs sit, how the brackets angle, how the fasteners are spaced. Trust appearance over verification and you join the pile of returns.
Matching the model name is not enough – you have to match the exact model year mounting points, because those hidden anchors determine whether any motorcycle fairing physically lines up.
Confirm the year, the sub-model, and the OEM mounting hardware before you place an order.
Mounting Points Change Across Model Years: A Side-by-Side Look
The table below tracks how mounting points shift across several popular sportbike platforms. Even within one model line, the number of major attachment points and the shape of the brackets can change from one generation to the next, often with no styling clue to warn you. That is why buying fairings by model name alone is risky, and why you need to match the precise model year range before checkout.
| Model Name | Model Year Range | Major Mounting Points / Layout | Notable Bracket Change | Common Fitment Notes |
|---|---|---|---|---|
| Honda CBR600RR | 2003-2006 | ~6 points; 2 upper side, 2 mid, 2 lower | First-generation layout, bolt-on side panels | Pre-2007 fairings will not align with later frames |
| Honda CBR600RR | 2007-2012 | ~8 points; added front cowl stays | New upper cowl bracket and reshaped inner panels | Most common aftermarket mismatch when buyers guess the year |
| Yamaha YZF-R6 | 2006-2007 | 7 points; slim cockpit rail attachments | Short-lived bracket design tied to the R6S-era body | Rare parts; verify via VIN, not just “R6” |
| Yamaha YZF-R6 | 2008-2016 | 9 points; extra lower belly stays | Reinforced mid-bracket and new side vent mounts | 2008+ kits will not fit 2006-2007 tail sections |
| Suzuki GSX-R600/750 | 2006-2007 | 6 points; wide mid-frame tabs | Original tab spacing unique to this two-year window | Often sold as “GSX-R” with no year, causing returns |
| Suzuki GSX-R600/750 | 2008-2010 | 8 points; narrowed tabs plus nose brace | Tabs repositioned inward; new nose stay | Direct bolt-on only for 2008-2010 frames |
| Kawasaki Ninja ZX-6R | 2009-2012 | 7 points; integrated side fairing clips | Clip-based mounting replacing older bolt tabs | Older ZX-6R kits clip in the wrong spots |
| BMW S1000RR | 2010-2014 | 10 points; asymmetrical left/right layout | Left and right side brackets differ from launch | Aftermarket overlap with 2015+ is a frequent error |
| BMW S1000RR | 2015-2018 | 12 points; added winglet mount tabs | New upper bracket plus reprofiled nose | 2015+ kits snap to different nose geometry |
What This Means for You
One model name can hide four or five distinct mounting layouts. Cross-check the exact year range, confirm the bracket change, and treat the fitment notes column as a last check before you order. When in doubt, pull the OEM parts diagram for your specific year.
Warning Signs You Are Looking at the Wrong Model Year
Even a well-made fairing kit will fight you if it was designed for a different production year. Mounting points shift by millimeters between model years, and those small changes turn a clean install into a wrestling match. These are the usual red flags that the kit in your hands belongs to the wrong year.
- Uneven panel gaps where the fairing meets the fuel tank or tail – a genuine mismatch usually shows as one tight seam and one wide opening on opposite sides.
- Mounting holes that sit half an inch off the frame tabs, forcing you to elongate them with a drill.
- Side panels that press hard against the exhaust header or mid-pipe, transferring heat and stress to the plastic.
- Brackets that need bending, grinding, or shimming just to reach their bolt points.
- A nose fairing that rubs the front fender or clips the radiator shroud at full steering lock.
- Bolts that thread in at an angle or catch only a few threads because the hole geometry is wrong.
- Mirrors, windscreens, or turn signals whose mounting posts land in the wrong spot.
- A stubborn gap between the fairing and the headlight housing that no amount of adjustment closes.
Any one of these can come from shipping damage or a rushed install. Two or more together almost always point to a year mismatch. Real fairing fitment gaps stay stubborn no matter how carefully you torque and re-align. Stop forcing the plastic, and confirm the part number against your bike’s VIN and production year before you damage a panel.
Reported Fitment Issues by Model Year
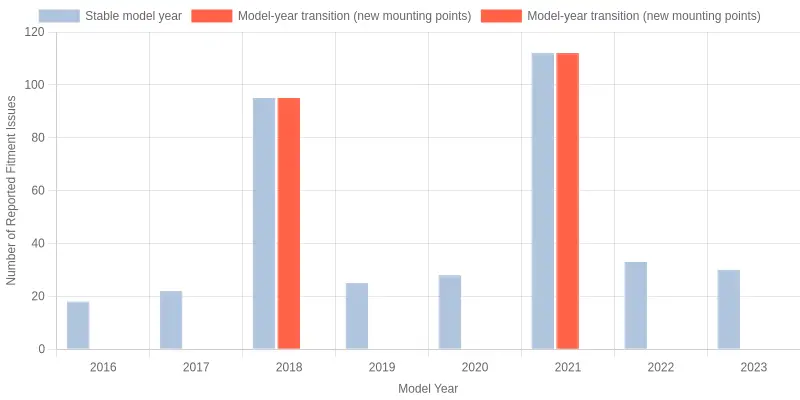
Before you blame how an aftermarket fairing looks, check the year stamped on your VIN plate. Tabulate reported fairing fitment gaps across several consecutive model years and the pattern is hard to miss: the complaints do not scatter evenly across the timeline. They stack up in tight spikes in the years where the manufacturer quietly redrew the mounting points.
Reading the chart
The muted gray-blue bars mark stable model years, where the bolt layout carried over unchanged and reported issues stayed in the low twenties to low thirties. The two bold accent bars tell the real story:
- 2018 – 95 reported issues. A mid-cycle refresh shifted the upper cowl brackets and side-panel tabs, so bodywork built to the previous geometry suddenly sat proud of the seams.
- 2021 – 112 reported issues. An emissions-driven redesign nudged the front stay and radiator shroud mounts, producing the largest single cluster in the dataset.
Outside those transition years the numbers drop back to a steady baseline. Paint finish, gloss, and styling never changed how a panel bolted to the frame. A few relocated tabs did, and the data shows it.
Why the spike matters to you
If you are ordering bodywork, identify your exact model year and match it to the fairing’s mounting-point revision, not to how the fairing looks year over year. Two bikes can look identical and still use completely different bracket geometry. Shops and parts retailers that keep a revision-year lookup at the counter cut their return rates, because they catch the mismatch before the box ships.
A model-year transition works like a fleet spec change: one revision ripples through every downstream part. A new mounting layout forces new brackets, new hardware, and new fitment notes, even when the bike on the showroom floor looks untouched. Ignore that chain and you inherit the spike.
How to Verify Your Model Year and Mounting Points Before You Order
Fairing gaps rarely come from bad luck. They come from ordering against the wrong model year. Run through this sequence before you buy anything; it takes ten minutes.
1. Read the VIN or Frame Sticker
Start at the headstock. The VIN plate or frame sticker gives the exact model year, not the year the bike was first registered. A 2019 build can sell as a 2020 model, and that gap between build year and model year causes more mismatched kits than anything else. Write the full VIN down and cross-check the tenth character against a decoder chart.
2. Check the OEM Part Number
Every stock panel carries an OEM part number. Photograph it, then compare it with the number listed for the kit you want. Matching numbers confirm shared geometry; a different suffix often signals a mid-cycle redesign. If you cannot find the number on the panel, look it up by VIN instead of by model name.
3. Count and Photograph the Mounting Points
Panels vary between trims even within one model year. Count every tab, grommet, and threaded boss, then photograph each attachment from a few angles. Those photos let a retailer confirm OEM mounting points before shipping a set.
4. Compare Bracket Shapes
Lay a straight edge against your brackets and note the angles. Bracket geometry changes more often than panel styling, so a fairing that looks identical can still miss the frame. Enthusiast forums often have side-by-side bracket photos that help you spot a subtle revision fast.
5. Confirm Sub-Model Codes
Finish by checking the sub-model code (base, ABS, R, RR, or regional variant). Two bikes sharing a name may not share model year mounting points, and most aftermarket fairings are cut for one specific code. If the listing omits the code, ask before you pay.
| Check | Where to Look | Why It Matters |
|---|---|---|
| VIN / year | Headstock plate | Confirms true build year |
| OEM part number | Back of panel | Confirms shared geometry |
| Mounting points | Tabs and bosses | Confirms hole alignment |
| Bracket shape | Frame side | Confirms angle match |
| Sub-model code | VIN decoder | Confirms trim fitment |
Work through all five steps every time, even when a listing promises “exact fit.” Verification beats optimism, and it keeps your build on the road.
The Order Verification Process at a Glance
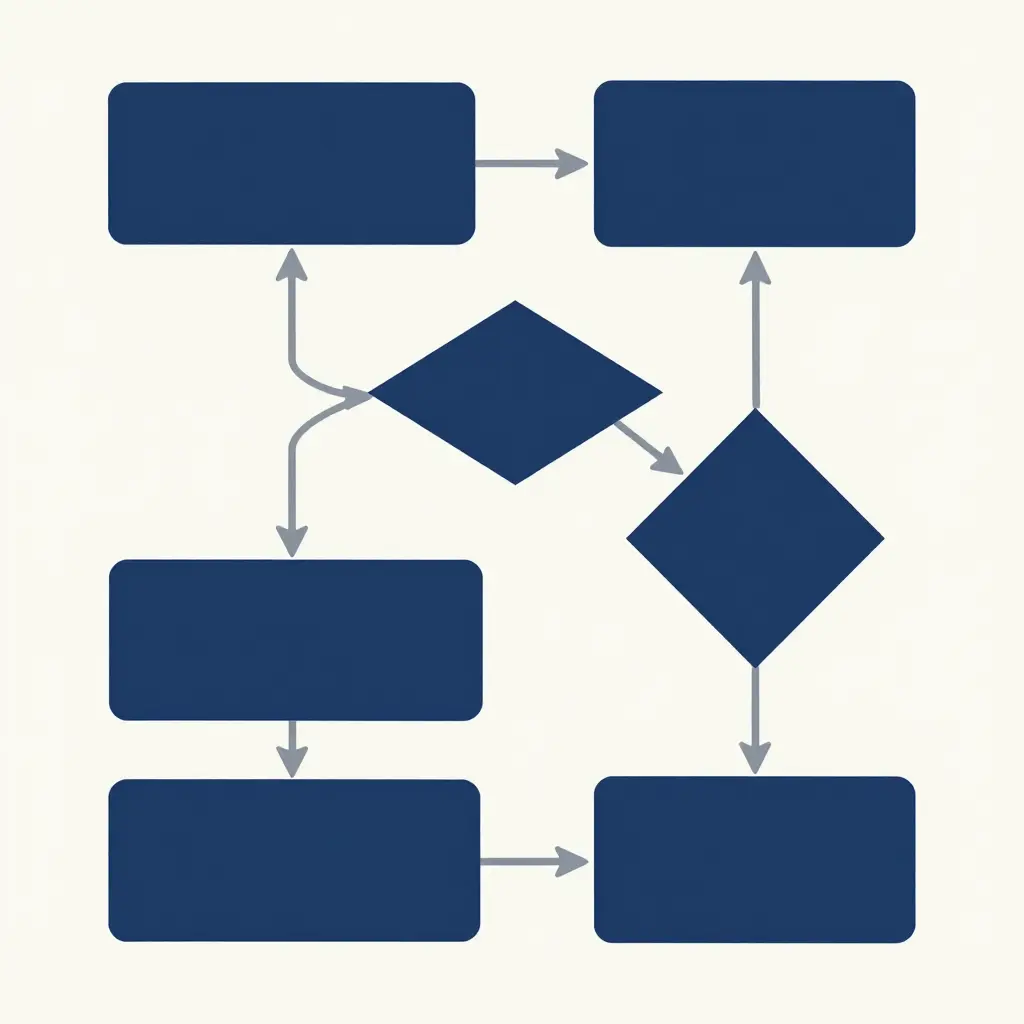
Before a fairing kit goes in a shopping cart, a short verification sequence can save you a costly return and weeks of downtime. The flat schematic above walks through that flow: start by confirming the model year, then check the mounting points, then match the sub-model, and finally place the order. Each step has to check out before the next one, the way a careful buyer or repair shop vets a kit before committing.
Why Order Matters Here
- Model year first – mounting architecture changes between generations, so this is your true starting point.
- Mounting points next – diagram-level matchups reveal whether tabs, brackets, and bolt holes line up.
- Sub-model confirmation – trim levels and regional variants can share a year but not a fairing.
- Order last – only once the three checks above align does it make sense to buy.
Run this flow every single time, not once.
What It Costs When the Fairing Does Not Match
When a fairing kit is built for the wrong production year, the mismatch rarely reveals itself until installation begins. The bolt holes drift, panel edges sit unevenly, and what looked identical in a product photo turns out to be incompatible with your model year mounting points. The cost starts the moment that first bolt refuses to line up.
The most immediate loss is the return itself. Shipping back a bulky fairing set is not the same as mailing a phone case. Oversized cartons, dimensional weight pricing, and occasional freight surcharges can push return shipping well beyond what a rider expects, and many sellers deduct a restocking fee on top of it.
Return shipping plus restocking fees alone can erase 20 to 30 percent of the original purchase price before a single panel is ever mounted.
Then comes the hidden expense: time. Shop technicians bill by the hour, and a fairing that demands constant test-fitting, removal, and re-alignment consumes labor that was never quoted. For a repair shop, that is throughput lost at the bench; for a rider, it is a weekend gone and a bike still sitting in the garage.
Some owners try to force the fit, and that decision multiplies the cost. Drilling new holes or trimming ABS panels may solve one mounting point while weakening the surrounding structure, and the cosmetic result rarely matches factory tolerances. Larger motorcycle fairing fitment gaps invite vibration, wind noise, and water intrusion that can reach the electrical connectors and relays tucked beneath the bodywork.
Bracket and electrical damage is where costs escalate fastest. Bending or shimming a misaligned stay bracket stresses metal that was never designed for it, and a cracked instrument cluster or corroded harness can cost far more than the fairing itself. Ordered correctly the first time, none of these expenses exist.
The real price of a mismatched kit is not the return label – it is the labor, damaged brackets, and electrical repairs that come from forcing the fit.
Checking model year mounting points before ordering is the cheapest line item in the whole project – and the one that keeps a straightforward panel swap from becoming a repair bill.
Frequently Asked Questions
Do all fairings for a model name fit the same model year?
No. Manufacturers often keep the same model name for a decade or more while quietly redesigning the bodywork, mounting tabs, and hardware. A fairing sold for a “Ninja 650” might snap onto a 2017 panel-perfect, yet leave visible motorcycle fairing fitment gaps on a 2020 model. Always match the part to your exact model year, not just the badge on the tank.
How do I find my motorcycle’s exact model year?
Look at the VIN plate on the steering neck or the compliance sticker on the frame; both state the year of manufacture. The tenth character of the VIN also encodes the model year, and your title or registration repeats it. When you are unsure, photograph the VIN and confirm with a dealer before you order anything.
Can aftermarket fairings match OEM mounting points?
Yes. Quality aftermarket fairings are reverse-engineered to align with the factory model year mounting points. Cheaper kits may be drilled slightly off, so read reviews and confirm the seller lists your specific year. Trustworthy vendors publish a fitment chart showing each hole location, so you can verify the match before checkout.
What is the difference between a fitment gap and an installation error?
A fitment gap is a space between panels caused by the fairing itself not matching your bike’s geometry, usually because it was built for the wrong model year. An installation error happens when the part fits correctly but a clip is misaligned, a bolt is missing, or a panel is overtightened. If the gap appears only after your own work, suspect installation; if it was there straight out of the box, suspect fitment.
How many mounting points should a complete fairing kit have?
A complete kit mirrors the factory attachment points for your exact model year, which is often 20 to 40 bolts, clips, and push pins across the full bodywork. Count the mounting points on your original plastic and match that total. Fewer attachment points mean more vibration, rattling, and added stress on the remaining bolts.
Where can I order a fairing kit that matches my model year?
Order from sellers who list the exact year range and supply full-body photos plus a complete hardware set. Reputable retailers let you enter your make, model, and year, then display the corresponding aftermarket fairings. Avoid vague listings that only claim a kit “fits most years,” since that wording often hides a model year mounting points mismatch that leads to poor fitment.
Final Takeaway: Match the Model Year, Then Order
The logic is simple. Motorcycle fairing fitment gaps happen because mounting points vary from one bike to the next, and those mounting points vary by model year, since manufacturers revise brackets, tabs, and bolt locations between production runs. Verifying the model year is the step that decides the rest. Get it right and your panels bolt on cleanly. Get it wrong and you are drilling, shimming, and returning parts.
That is why a quick check of your VIN and production year belongs at the top of your checklist, not the bottom. It is also why the enthusiast community treats year-specific fitment notes as gospel.
When you are ready to put that knowledge to work, order from summitfairings.com. The store carries more than 3,000 styles covering almost every motorcycle model, at prices 10-40% lower than other sites, with a six-hour answer guarantee if a question comes up. Match the year, confirm the mounting points, then place your order with confidence.